- Non-Structural Column Wraps
- Structural Fiberglass Columns
- Cellular PVC
- Decorative Millwork
- T&G | Shiplap Planks
- Premier Shutters
- Outdoor Living
- Ceiling Beams
- Flexible Mouldings
- Interior Ceilings & Walls
- Wainscoting
- Clearance Items
Installing Elite Recessed Paneled Wainscoting
The Homeowner's Guide to Installing
Elite Wall Paneled Wainscoting
By Steve Maxwell - Elite Trimworks' DIY installation coach
photos and videos by Robert Maxwell 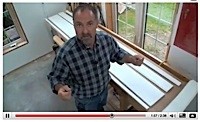 If you've always wanted to install your own wainscoting but were afraid to try, we can help. In fact, that's our business. All of Elite's wainscoting products are exceptionally DIY-friendly because everything's pre-milled to fit together flawlessly. And in the case of this wall panelled wainscoting (one of dozens of different designs), we've even created our own patented tooling so all parts in this kit come together like nothing else on the market.
We've also invested just as much time and effort crafting our image-rich, video-assisted instructional packages. This is what you've got here. You won't find any other wainscoting system that does so much to help ordinary people achieve extraordinary results.
The Process in a Nutshell:
Before we look at details, consider the five main installation steps you'll need to complete:
- Remove existing quarter round and baseboard (if your wall has any).
- Fasten the wainscoting base rail to your wall.
- Calculate spacing between wainscoting stiles (calculator)
- Install stiles with bottom ends sitting on top of the base rail.
- Anchor top rail and cap to the wall, sitting it on top of the stiles.
- Fill, prime and paint.
Before you continue, watch the quick video tour of the wall-panelled kit components right below. It gives an overview of all the parts so you can understand the detailed instructions coming next. The Stuff You'll Need:
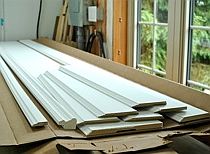 One Wainscoting Kit (8 feet) | 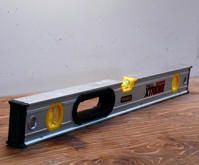 Carpenter's Level (24-inch-long) | 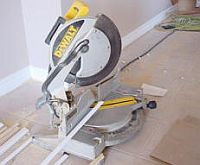 Chopsaw | |
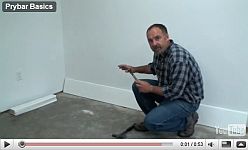
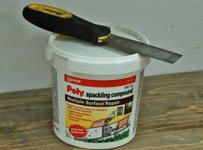 Spackling Compound Fill's tiny imperfections | 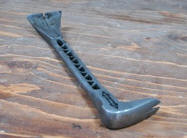 "Cat's Paw" Prybar A prybar with a thin blade for removing existing quarter round and baseboard | 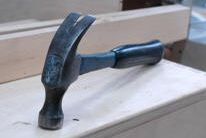 Regular Claw Hammer |  Putty Knife |
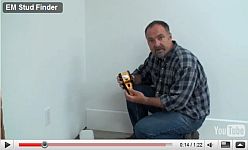
 Electronic Stud Finder | 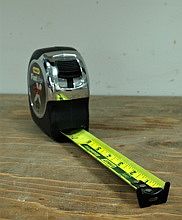 Tape Measure | 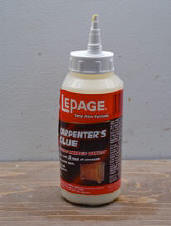 Wood Glue White /Yellow /Brown | 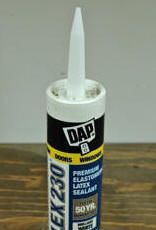 Paintable Latex Caulking for filling gaps and inside corners |


