- Non-Structural Column Wraps
- Structural Fiberglass Columns
- Cellular PVC
- Decorative Millwork
- T&G | Shiplap Planks
- Premier Shutters
- Outdoor Living
- Ceiling Beams
- Flexible Mouldings
- Interior Ceilings & Walls
- Wainscoting
- Clearance Items
Tips-on-Shapping-Wainscot-Panels
Raised Panel Shaping Instructions
Printable Raised Panel Shaping Instructions
Our wainscot panels are surprisingly easy to customize to your needs. You only need to shape one of the four sides at the most. This is what makes our Elite Raised Panel Wainscot system so revolutionary in the home improvement market. These easy-to-follow tips and pictures should help make your project go smoother. Please use all possible safety precautions.
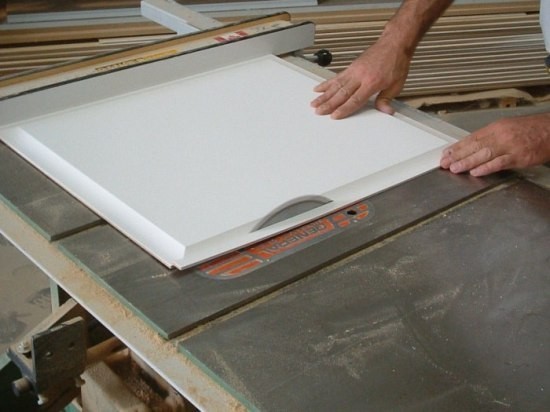
| Step 1: In order to get the desired effect, only one side of the panel should ever be cut. First, you should measure the width of the finished panel. Rip the one side down to the desired width. The height will always remain the same at 24”.
|
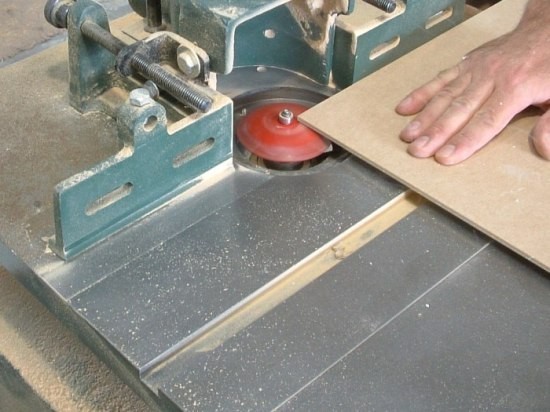
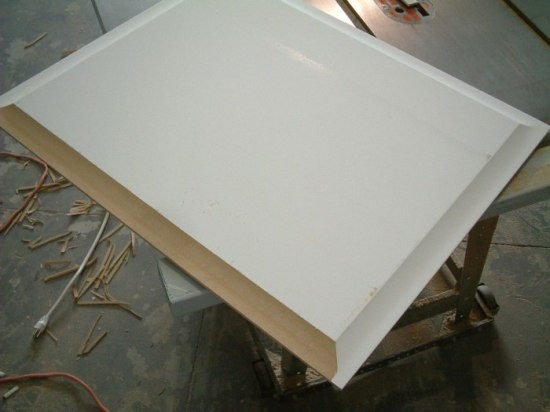
| Step 2: Next you will use your router or router table to shape the cut edge of the panel. A router table is preferred because of the diameter of the router bit required to get the shape
|
| If you do not have this router bit, you may order here: Freud 2 + 2 Router Bit (SKU:99-519)
|
| Step 3: You will now sand the newly cut radius using a fine-grit sandpaper. This will remove the rough edges left by the router and will give you a finished surface for painting.
|
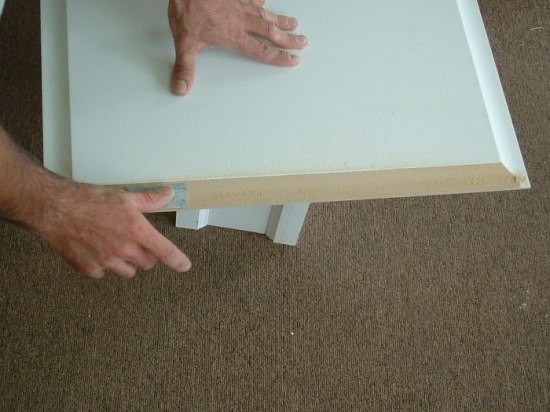
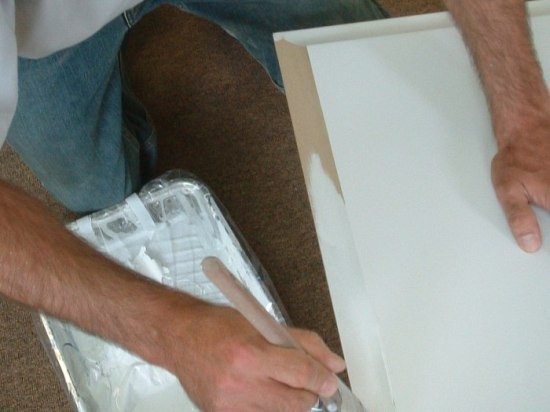
| Step 4: Paint the new edge with a primer coat first before installing into slot
|
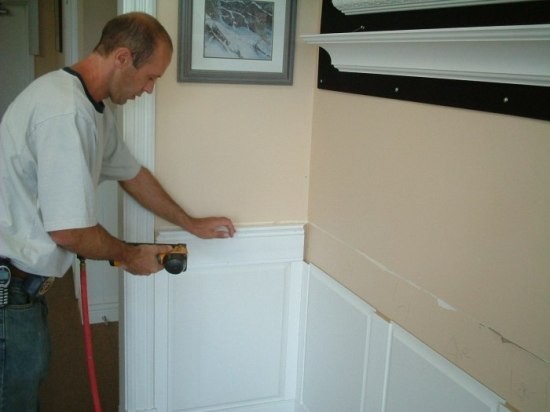
| Step 5: Fit into the slot and follow the same installation process as the other panels.
|


